HP Wifi Direct Printer Setup
This is a guide for printing to an HP 5255 that does not have access to a school wifi network or should not be connected to the school's wifi network.
Part 1 - Disable the regular wireless connection
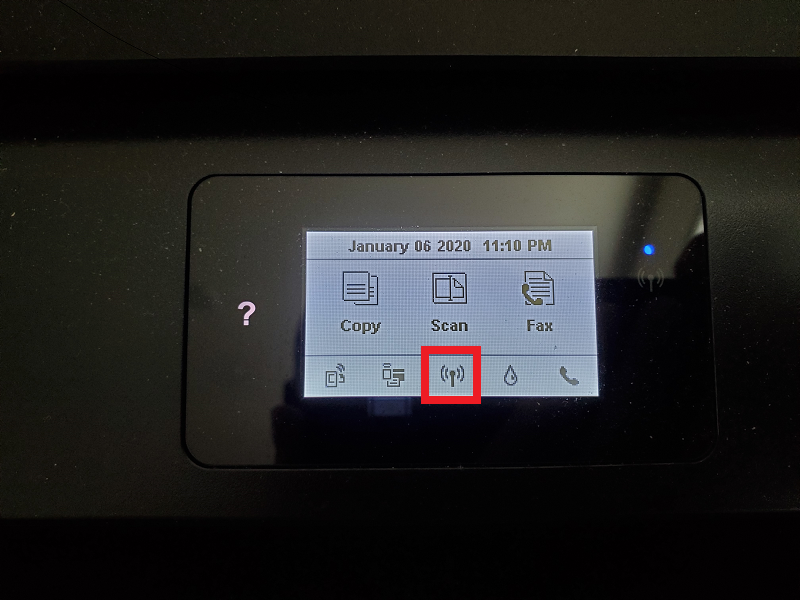
1) From the home screen, click on the wireless network connection icon shown inside the red square below.
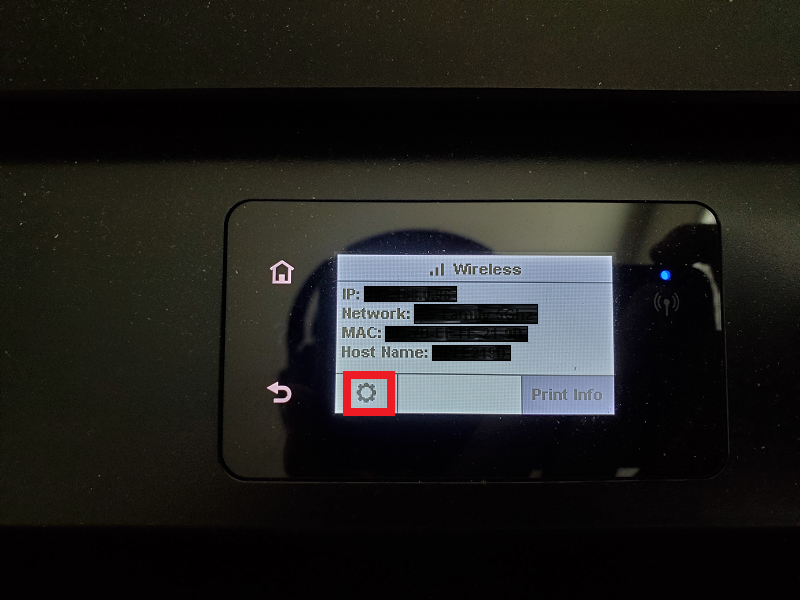
2) On the wireless setup screen, click on the gear icon for the settings menu (in the red square below)
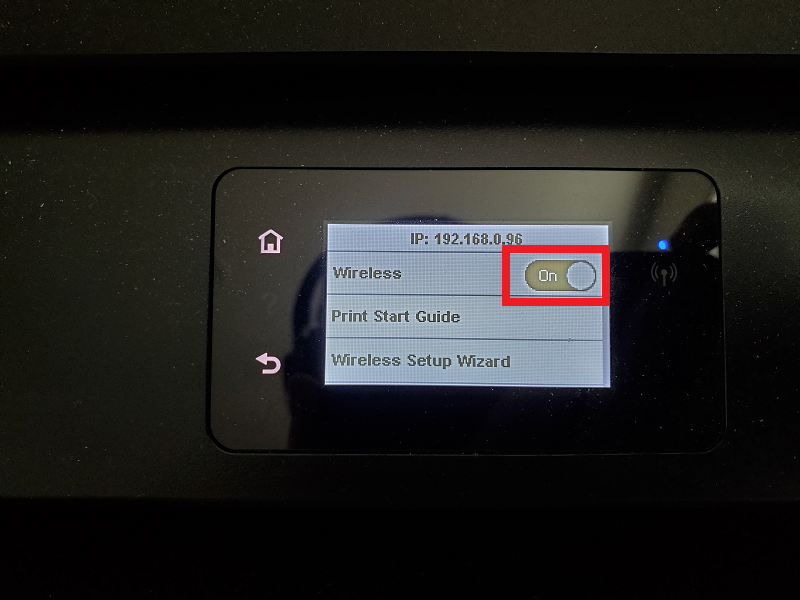
3) In the settings, click on the On button to toggle it to off
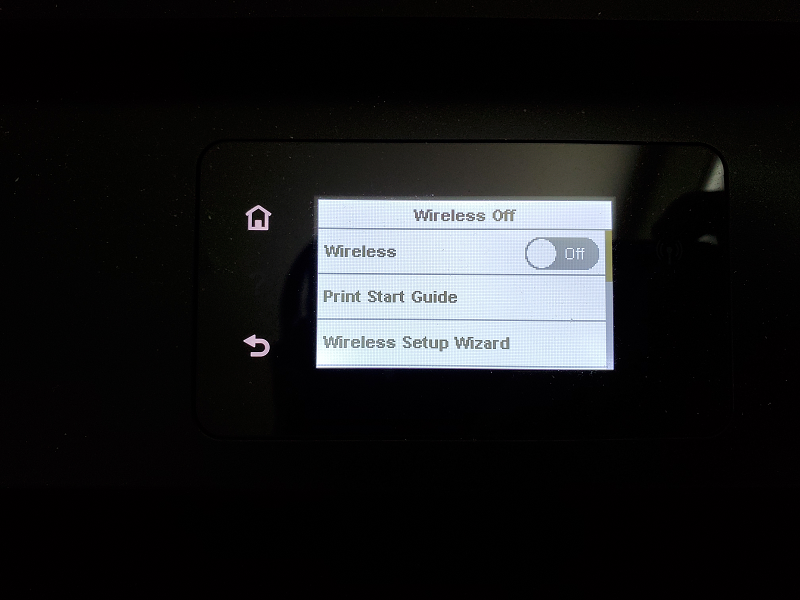
4) It should look like this after it turns off the wireless connection
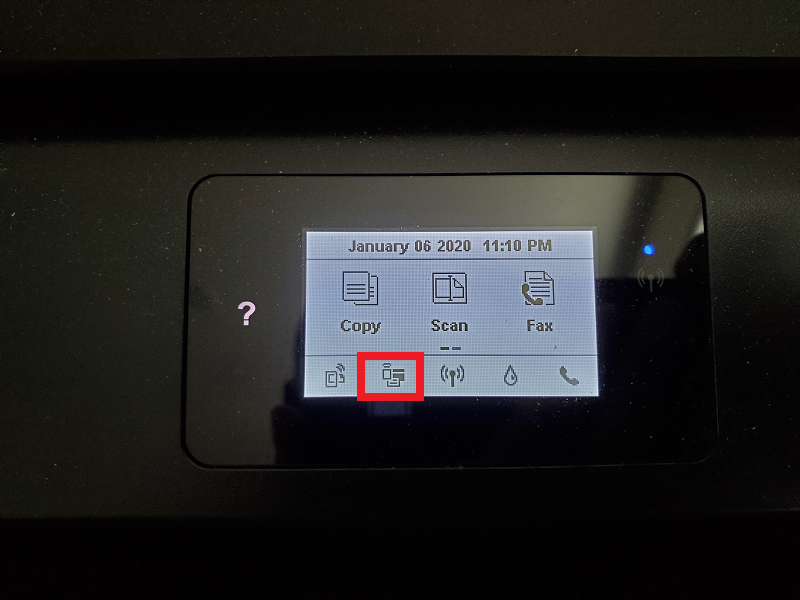
5) Go back to the home screen and click on the Wifi Direct icon
6) You should see information similar to the below. Your Wi-Fi Direct Name won't be the exact same, but will be similar. Click on the gear icon

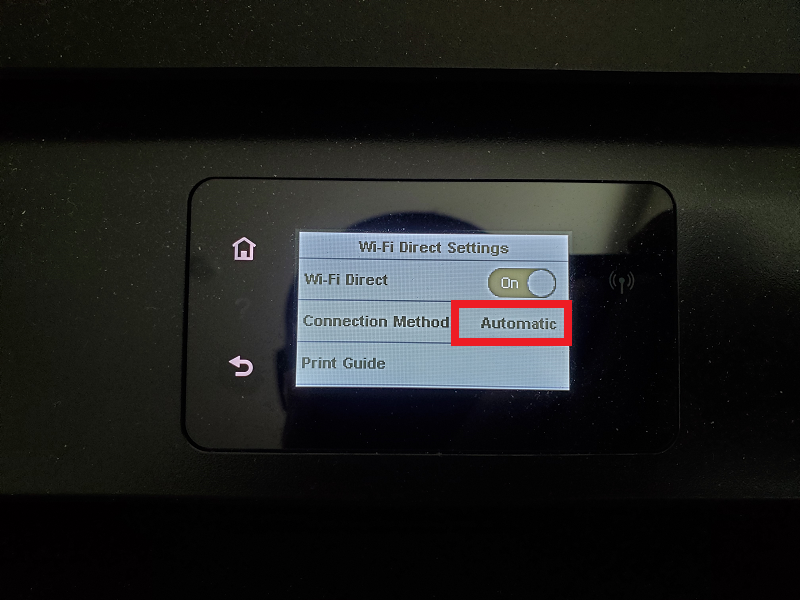
7) On the settings screen, you will see that the Connection Method is set to Automatic by default. Click on that and change it to Manual.
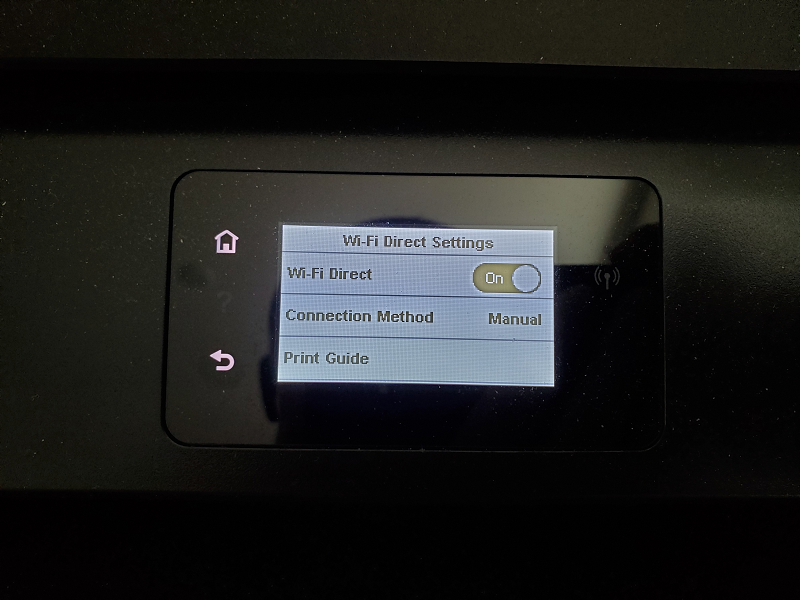
8) It should now look like the below screenshot
9) When you go to the Wi-Fi Direct screen, it still have the same Wi-Fi Direct Name, but the Password will no longer be 12345678. Each printer automatically generates its own unique 8 digits password.
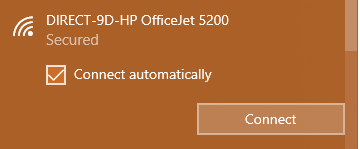
10) In order to print with a printer in this setting, you will need to save the files you want to print to the tablet. Then, you will need to change the tablet's wifi to use the printer's own wifi network (which has no access to the internet). It will look something like the below. You will need to use the password that is shown on the Wi-Fi Direct screen on the printer.